


Welcome to NEW LEASE MUSIC’s New Music Roundup, your weekly snapshot of great music from indie and unsigned artists! In this addition you’ll hear cross rhythms of genres – from alt-pop, country/folk and R&B/soul. If you like what you hear, give it a thumbs-up below in the comment section.
If you are a indie or an unsigned artist and would like your music featured on the list, send your music links and a short info about the release to submit@newleasemusic.com, with NEW MUSIC ROUNDUP in the subject line.
Thank you for visiting and I hope you enjoy the music!
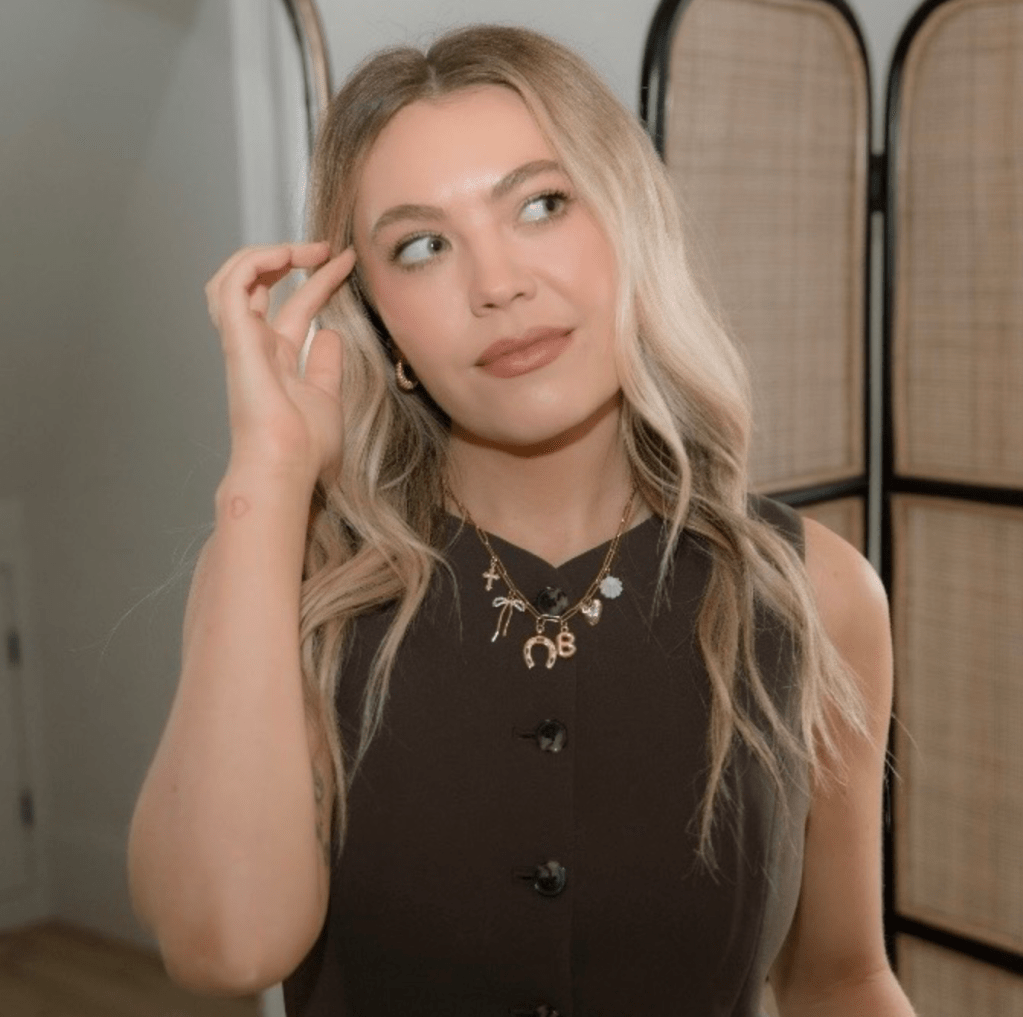
MAXX NIES – GIVE ME A REASON

New York-based alt-pop artist MAXX NIES continues to carve out a compelling space in the modern pop landscape with the release of her deeply personal new single, ‘Give Me A Reason’. At just 25, Nies has already forged a musical path rooted in vulnerability, resilience, and emotional honesty, using songwriting as both a creative outlet and a means of healing. Inspired to write her first song at the age of seven following the passing of her great grandmother, Maxx discovered early on the transformative power of music to process complex feelings and personal experiences.
‘Give Me A Reason’ is out now across all leading platforms. Listen below…
NATALIE DUNCAN – BLACK MOON
Nottingham-raised and London-based singer-songwriter and keys player NATALIE DUNCAN returns with her highly anticipated third studio album, ‘Black Moon’, out now for your pleasure across all leading platforms. The album, produced and mixed in-house with her trio, Alan Mian (bass) and Dave ‘Big D’ Browning (drums), marks a bold, expansive statement from one of the UK’s most compelling jazz, soul, and R&B artists. Leading the record is the stirring first single, ‘Crashing Into The Dark’, a track that perfectly captures the depth, soul, and vigour of the new collection. Have a listen below…
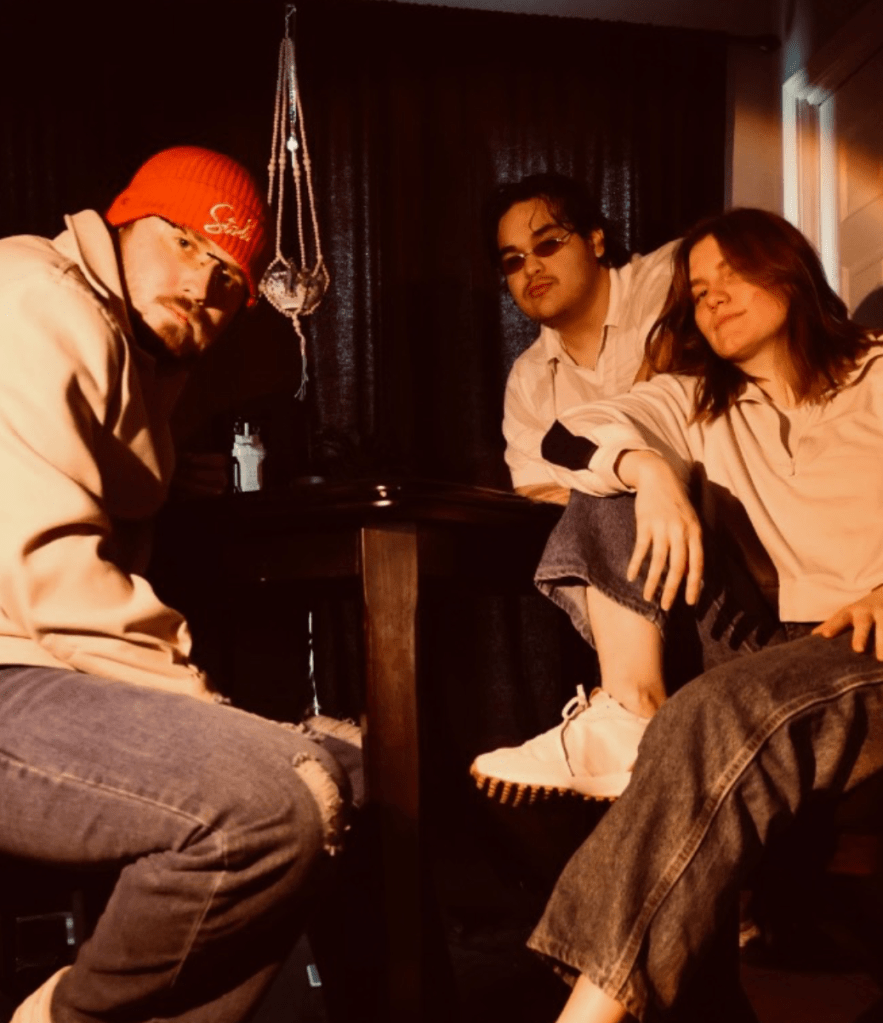
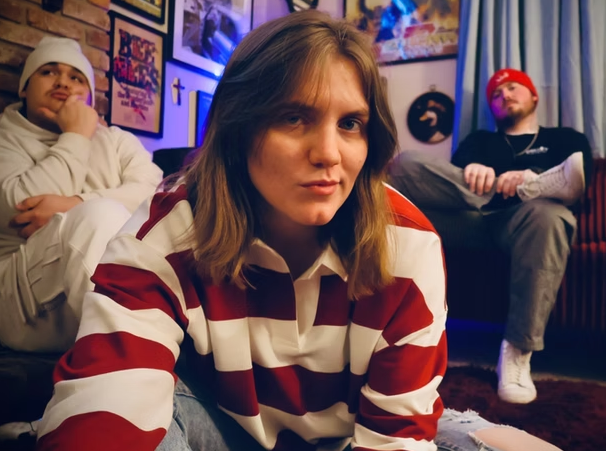
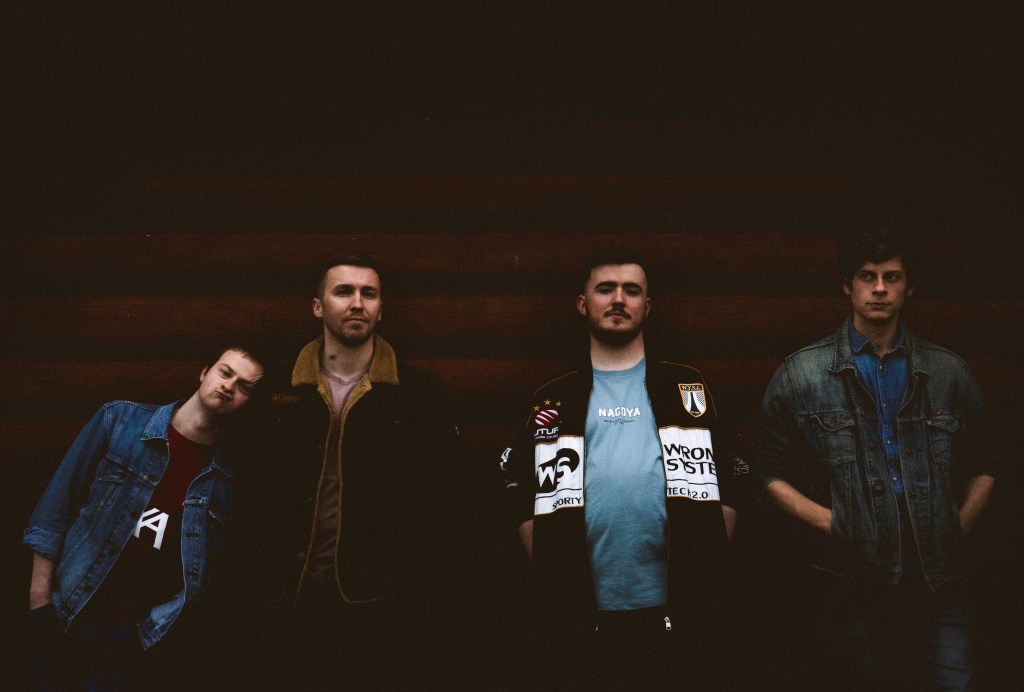
STARSPIRE – UNCLAIMED BAGGAGE
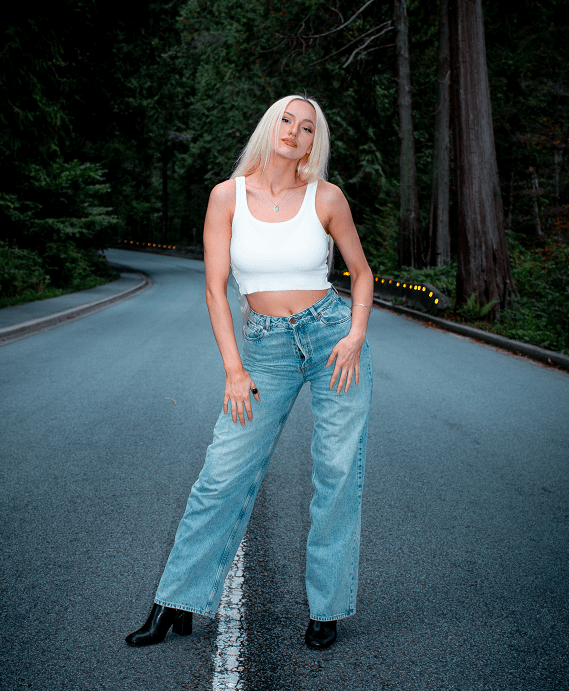
London-based creative strategist and Managing Director Ranj George steps fully into his artist identity with the release of his debut album under his multi-genre project, STARSPIRE. Titled ‘What Is Meant For You’, the record is an ambitious and emotionally resonant body of work spanning 13 genres, from hip-hop to country, pop to indie, unified not by sound, but by storytelling.
The album’s lead single, ‘Unclaimed Baggage’, is a sharply observed country-pop reflection on modern male loneliness, following a mid-40s divorced man navigating dating apps, emotional fatigue and the quiet pressure to stay confident while feeling overlooked. Warm but unresolved, the track carries a lived-in quality, with intimate husky vocals and stripped back acoustic textures that mirror its bittersweet honesty. Have a listen to below…
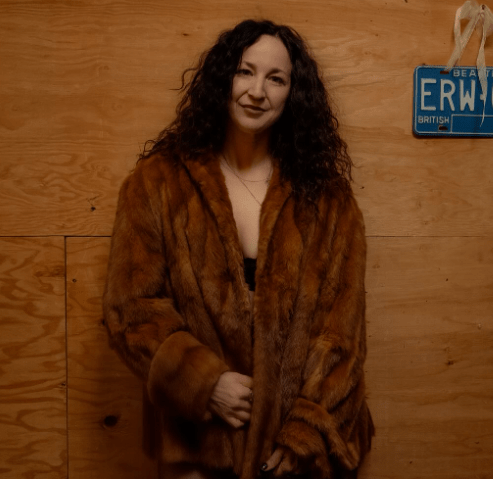
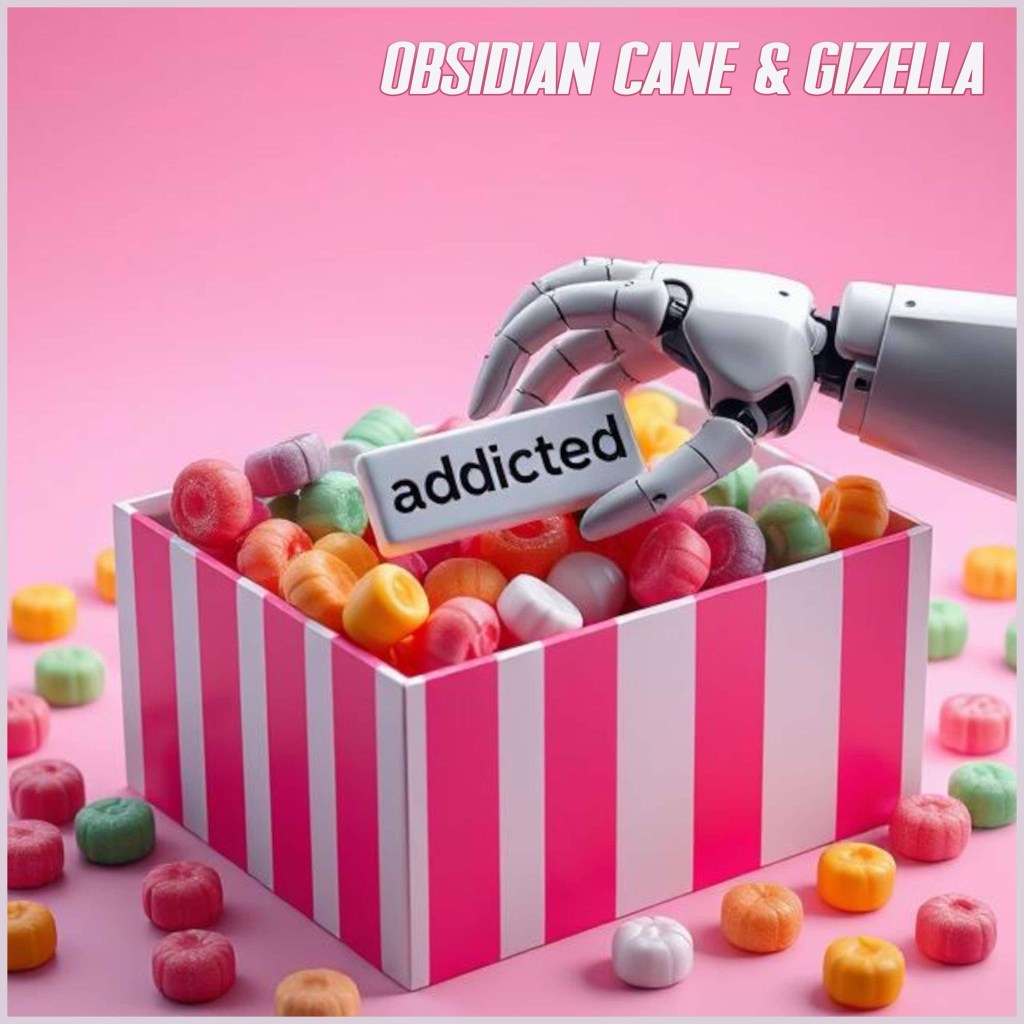
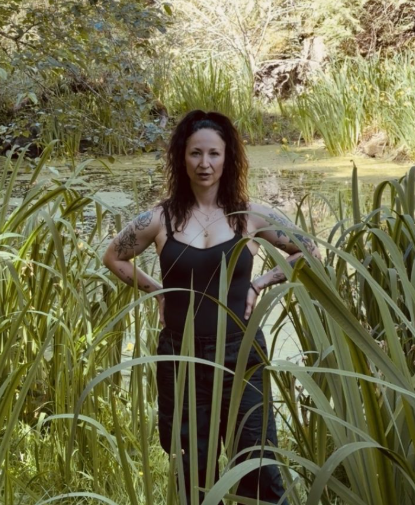
DANI IVORY – NO OTHER WAY
DANI IVORY is back with her four-song EP ‘No Other Way’, a raw, unfiltered exploration of love, loss, and devotion. The project is a collective of soul, R&B, rock, country, and folk-pop, blending organic instrumentation with emotionally rich storytelling.Opening with ‘Looney Bin’ Ivory sets the tone immediately — messy, self-aware, and emotionally charged. Bright on the surface but layered with heartbreak underneath, the track blends organ, twangy guitars, and soulful textures that evoke Maggie Rose and Marcus King while staying rooted in Ivory’s signature sound: “I’ve been beating down every single door / I got no good shoes left to throw I’m looking for some more / I just can’t wrap my head tight around the thought / You’ve had enough of my love, don’t want me no more.”
The song captures the exhaustion, disbelief, and chaos of realising the love you’re giving isn’t wanted, with a chorus that makes the unraveling fully visible: “I turn into a wreck, a nasty mess / Mascara dripping, big hair flippin’ party bitch / I drink too much wine, I stay up all night / I’m a different woman when you’re roaming / Yeah I’m losing my mind to the looney bin.” Listen to ‘Looney Bin’ below…
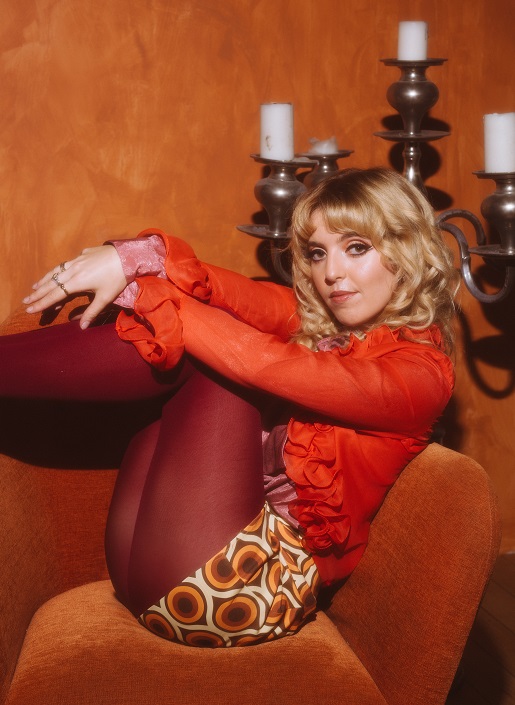
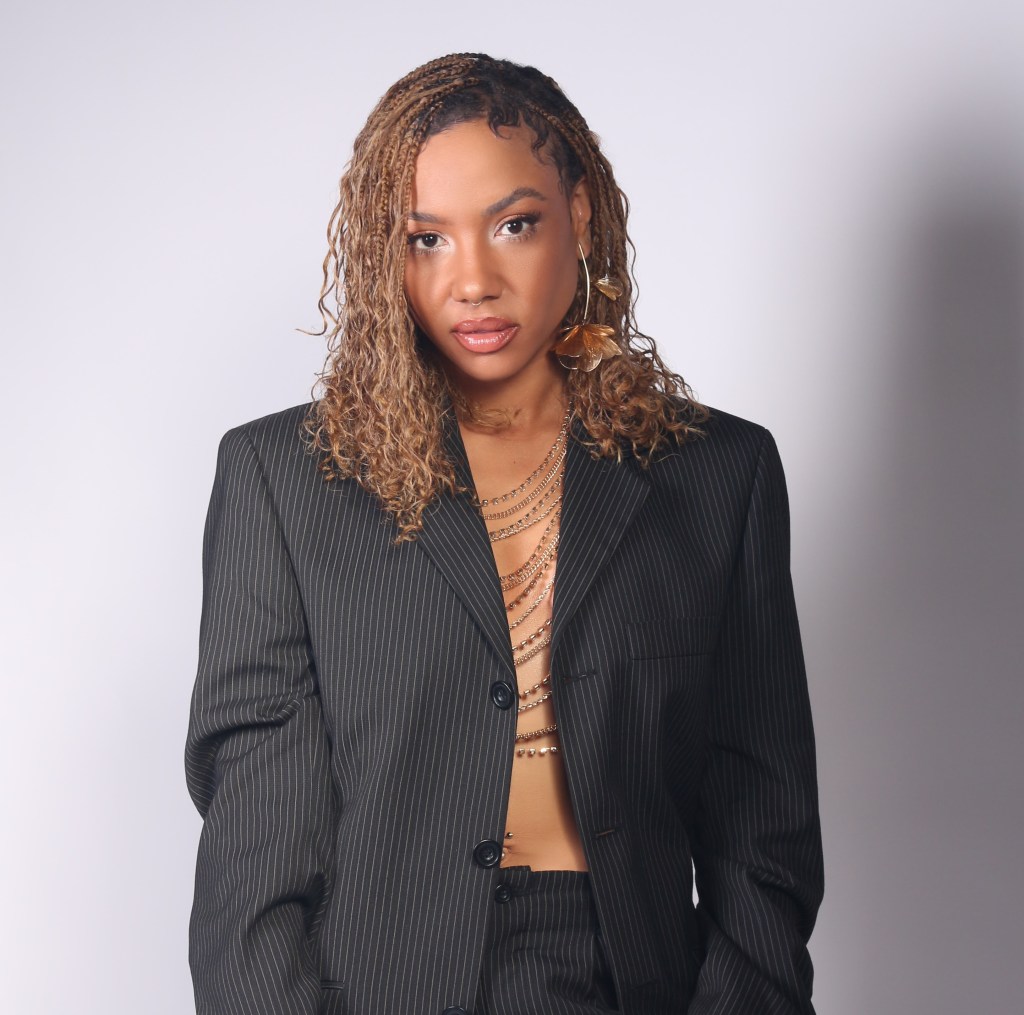
VIANNA ROSE – I’M A GOOD WOMAN
Taken her new EP, ‘Echoes of Time’, available now on all streaming and download sites, VIANNA ROSE unveils focus track, ‘I’m A Good Woman.’ Channeling the bold attitude of Barbara Lynn’s original, pairing Southern soul grit with a warm R&B groove, ‘I’m A Good Woman.’ hooks listeners early with its turning-point lyric, “Now I know what I’m going to do… I’m gonna leave you,” before landing its emotional payoff through a striking, repeated outro refrain.
Check out the video for ‘I’m A Good Woman’ below…
SHEYNA GEE – TWO WEEKS
Traditional country artist SHEYNA GEE releases her highly anticipated new EP, ‘Two Weeks’, out now. Entirely written and produced by Sheyna herself, the project serves as a bold artistic statement—one that captures lightning in a bottle while showcasing her undeniable depth as both a songwriter and producer.
The EP’s title, ‘Two Weeks’, reflects the intense and deeply personal creative sprint during which Sheyna brought each track to life. The result is a cohesive, emotionally rich body of work that moves seamlessly between raw vulnerability, soaring resilience, and even a playful, tongue-in-cheek drinking anthem
‘Two Weeks’ was released last Friday (31st March) across all leading platforms. Why not check it out below…